What type of microscope is used for soldering?
Choosing a high quality microscope is crucial for doing high quality soldering. Let’s have a look at the different types of solder microscopes you can use. Later, we’ll look at how you’ll know which one to choose for your business.
OPTION 1:
Desk magnifier
If you’re not soldering in large quantities, a desk magnifier can be a great solution. They require little to no training and are available at a very affordable price point. A desk magnifier, however, only offers minimum magnification and may therefore not suffice if you’re working with miniaturized components.
OPTION 2:
Stereo microscope
Stereo microscopes are often chosen when higher magnification levels are needed. The stereo microscope is also defined by its ability to recreate three-dimensional images of objects via the eyepieces. This is most identical to how the human eye works and thus creates a very natural experience in terms of depth perception as you’re soldering.
Stereo microscopes, however, require more training than a desk magnifier and come at a significantly higher price point. Lastly, stereo microscopes use an eyepiece which can cause musculoskeletal pain if it’s not adjusted to fit you specifically or if you’re using it for long hours at a time.
OPTION 3:
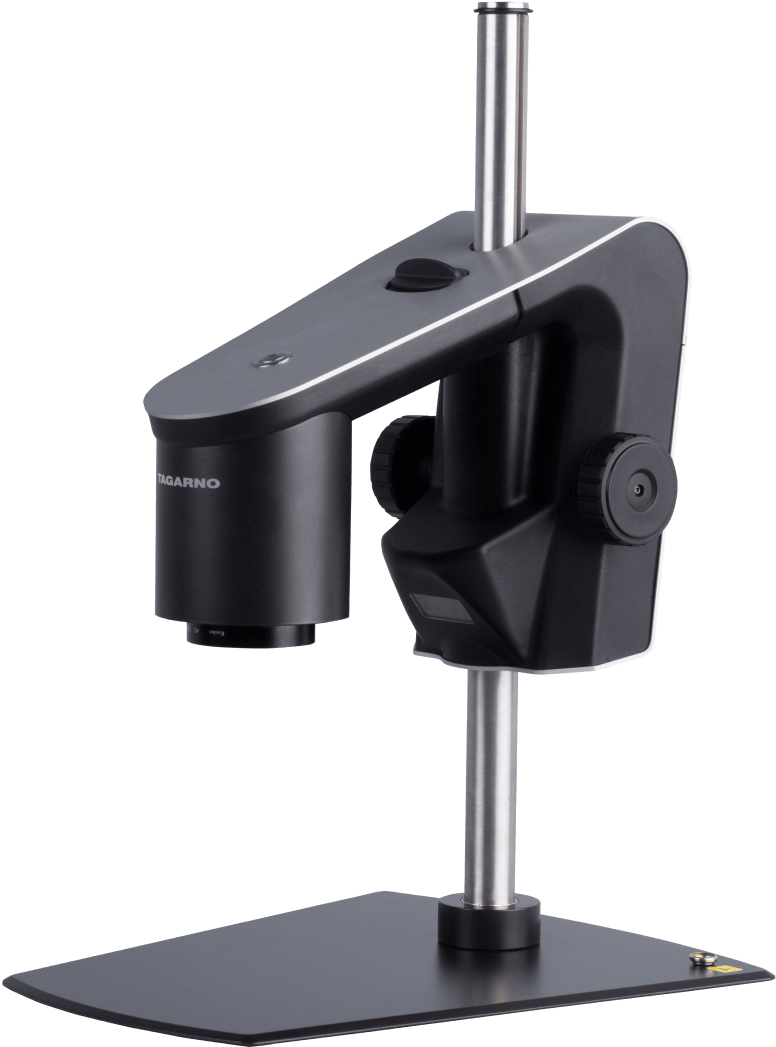
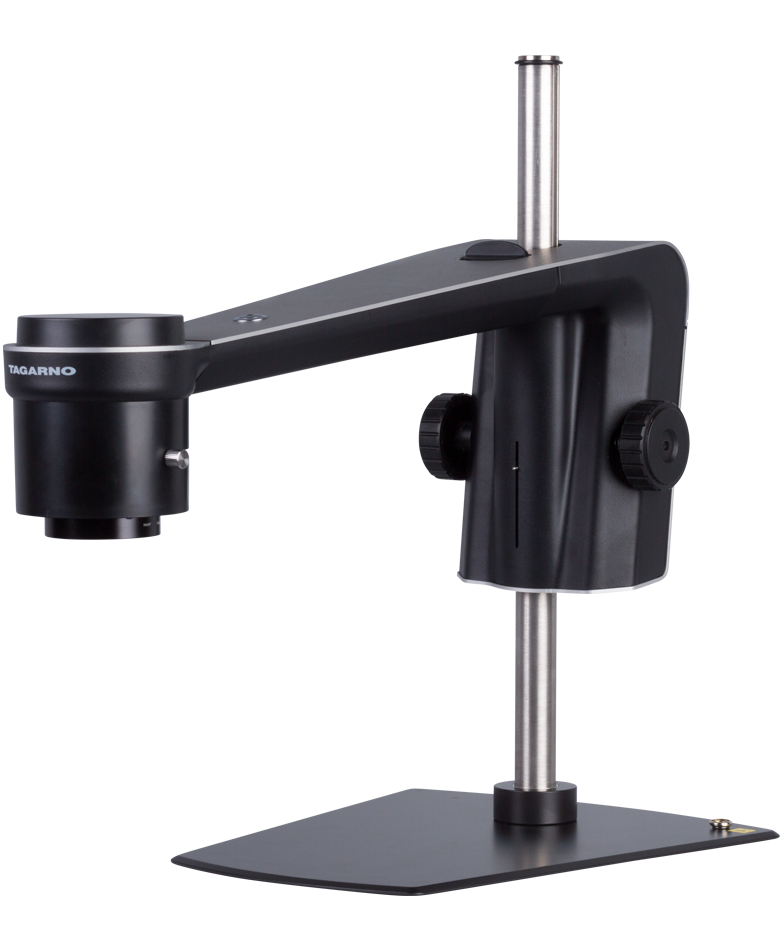
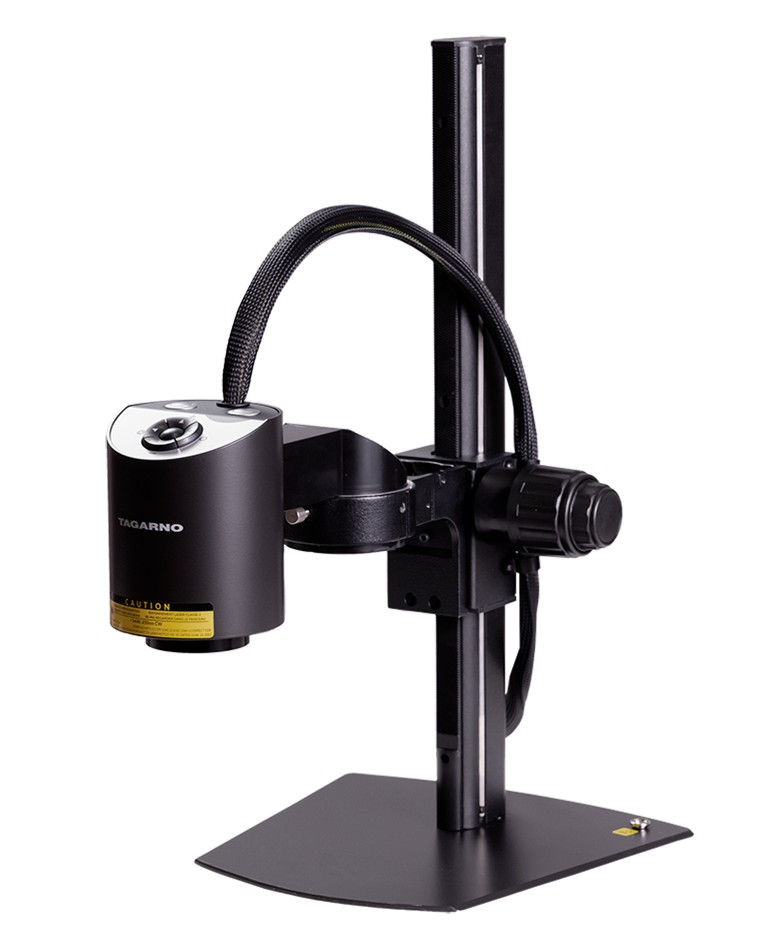
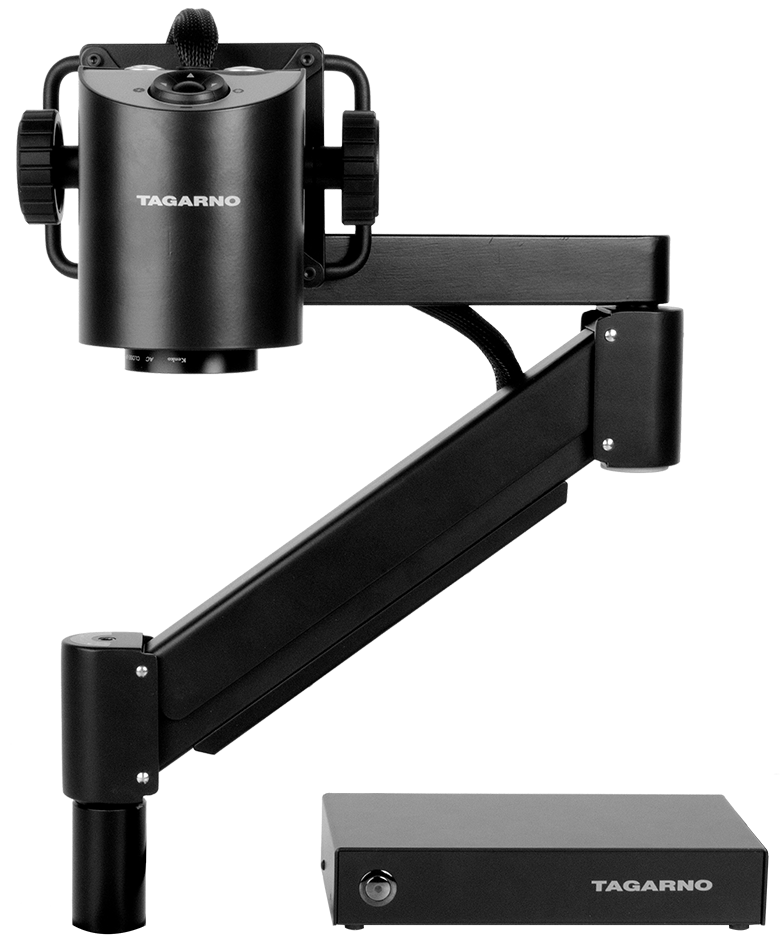
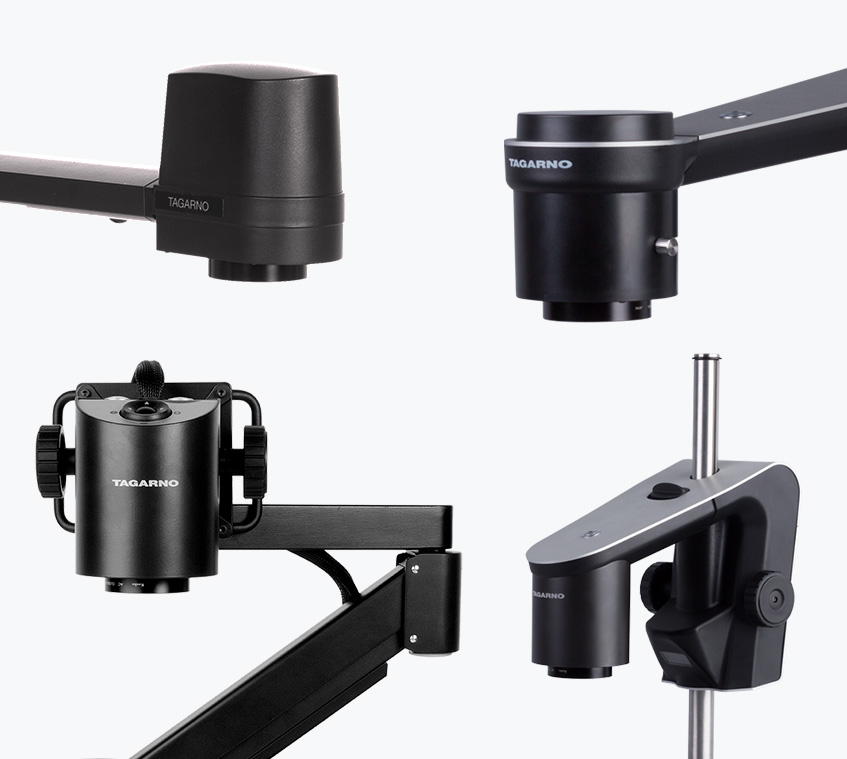
Digital microscope
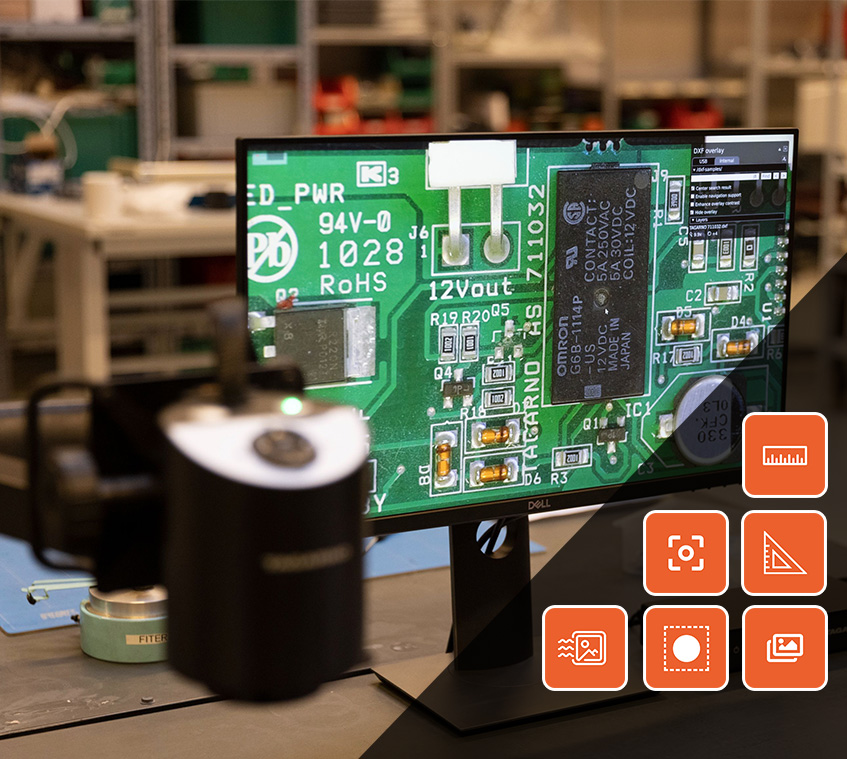
To create a more comfortable and ergonomic setup, you can choose a digital microscope. Instead of looking downwards through an eyepiece, you’ll be able to look straight ahead at a monitor, relieving you of neck, back and shoulder pain.
Certain digital microscopes also offer additional software that you can use when soldering. They also make it incredible easy to capture photos of the before and after of your work.
What type of microscope you use for soldering can be a matter of personal preference. However, there’s a range of features that you should consider when choosing a solder microscope.