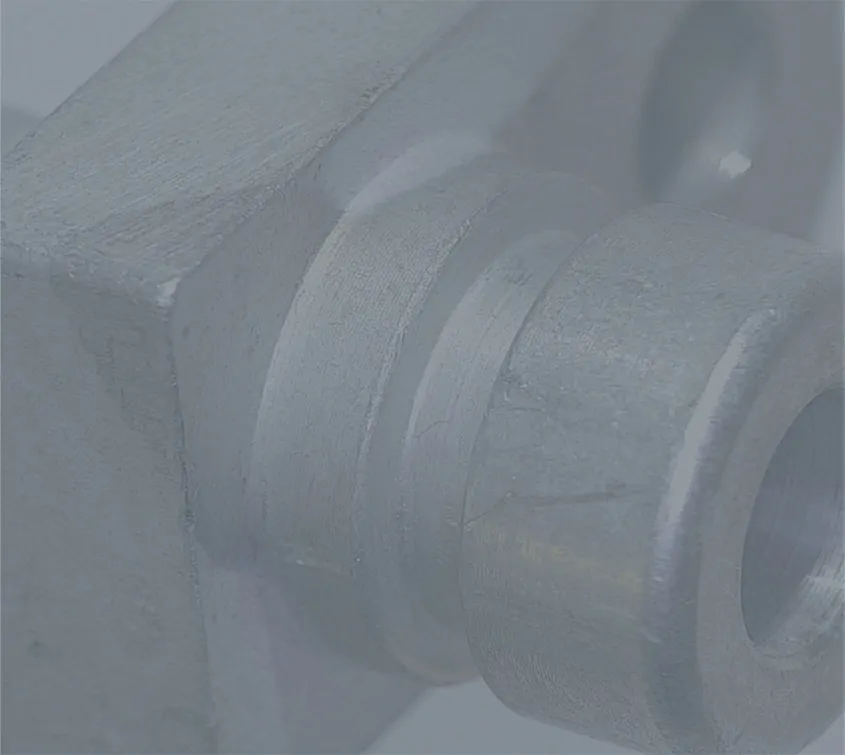
Magnified cylinder with a digital microscope

Industry

Metal inspection

The benefits of using digital microscopes for mental inspection

noun_metal waste

area of expertise

The benefits of using digital microscopes for metal inspection

With auto focus, 60 frames per second and advanced apps, it’s easy to spot and document defects when doing metal inspections with a digital microscope.

Identifying burrs, flashes, chips, and more requires manipulating a metal part underneath the microscope to see it from multiple angles. This is why a digital microscope with 60 frames per second is crucial for this process.

As you’re moving the metal part around, you’ll experience a smooth live image with no delay and the auto focus will ensure that the microscope constantly refocuses and creates a sharp image.

With an UV light, you can even do fluorescent penetrant inspections to detect defects on your products. Use the Measurement app to measure the size of your findings or use the Image comparison app to display reference photos of what to look out for during your metal inspections.

Any findings you make during your metal inspections can easily be captured, stored or forwarded to business partners to discuss how to proceed.

Below, we’ll go into more detail about how to use a digital microscope when inspecting metal parts, including which microscope we recommend for these metal inspection processes.

Shape, color and surface inspections of metal parts

Doing metal inspections to verify the quality of your products is a time consuming and demanding task. For this process, you not only need a metallurgical microscope that produces crystal clear images that enables you to spot any burrs, flashes, chips, etc. You also need a comfortable setup with proper ergonomics to avoid operator fatigue and minimize escape rates. This is where a digital microscope comes in.

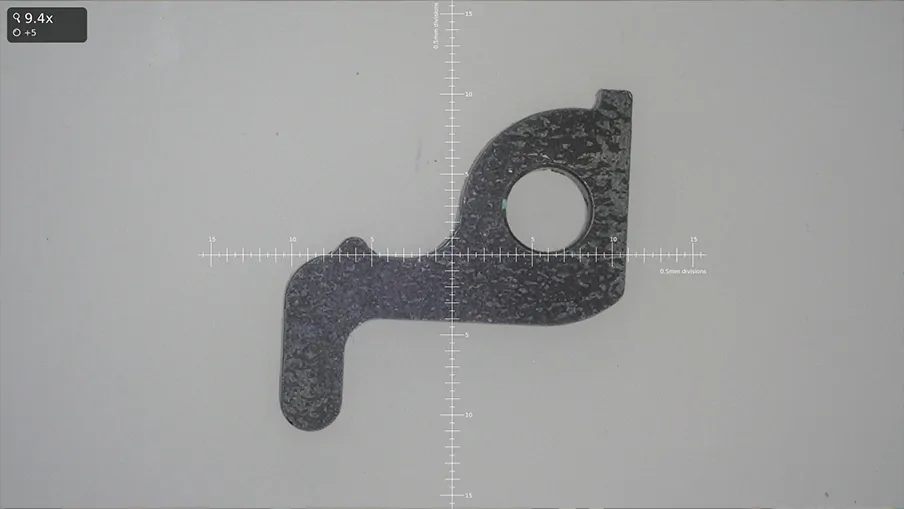
Use the bestselling Measurement app to measure the size of your findings, either manually or with the help of heads-up displays. Then, document your findings and adjust your production accordingly if needed.

You can also use the Image comparison app to compare current samples to reference photos of defects to guide operators on what to look out for.
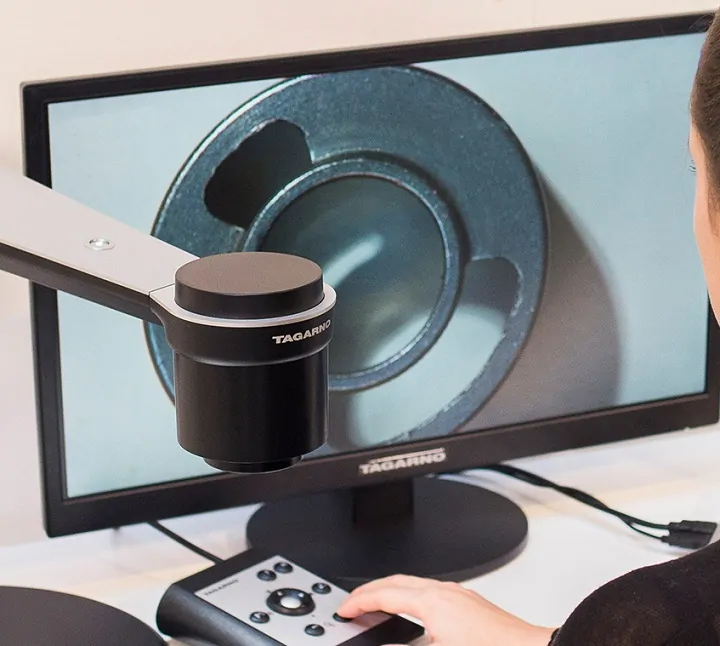
Woman looking at a monitor that shows a magnified image of a metal part

We love our TAGARNOs. They are really easy and comfortable to use

A leading medical device manufacturer wanted more consistency and efficiency in their inspections. After seeing the results, they now have more than 20 TAGARNO microscopes.

Fluorescent penetrant inspections

When using a digital microscope to perform fluorescent penetrant inspections, a process aimed to identify defects in metal parts, use the Measurement app to measure the size of the defect. This can be done either manually by measuring the defect with the highly accurate measuring app or by quickly comparing the size of the defect to a heads-up display.

Any defects identified during this metal inspection process can easily be captured and saved, allowing you to track how a defect develops over time.

Magnified metal object and graphic overlay measuring the the dimensions of the object

Choosing the right microscope for metal inspections

To perform metal inspections, you need a metallurgical microscope that meets certain requirements. Depending on your specific process, you may have additional requirements, but here’s a list of criteria that the microscope should definitely meet:

  • Be able to do high and low power magnification on one single system to avoid having multiple systems for different jobs
  • Use a camera with 60 frames per second for a smooth experience as you’re manipulating samples underneath the microscope
  • Auto focus to keep the metal part in focus as you’re moving it around
  • Have sufficient working height to fit your hands underneath the microscope
  • Be able to capture photos easily
  • Be ergonomically comfortable to use

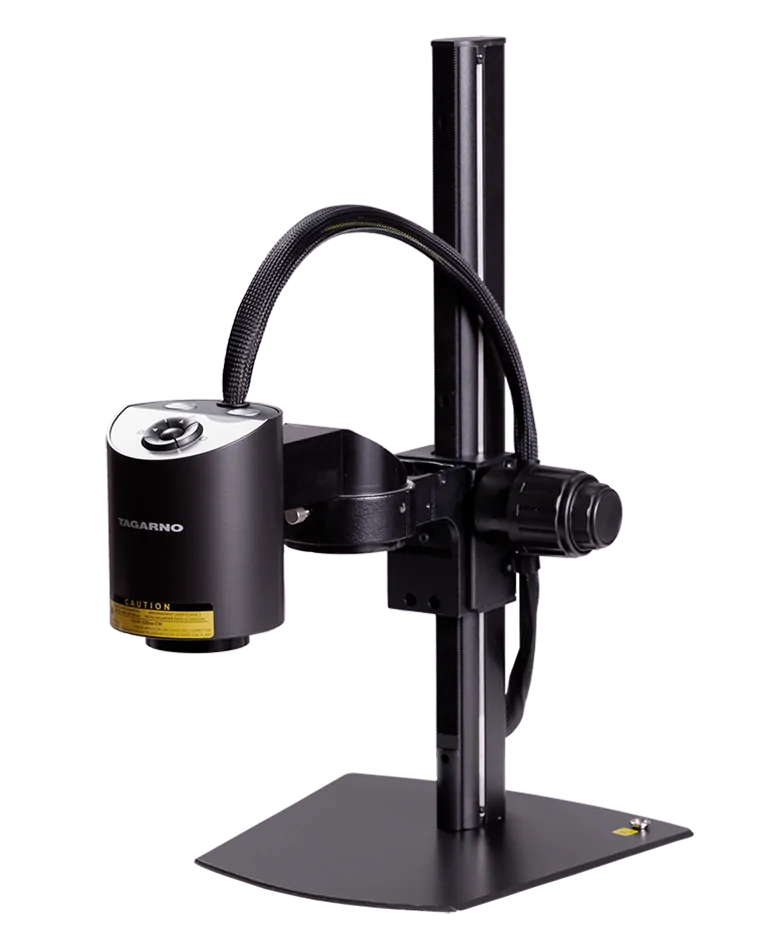
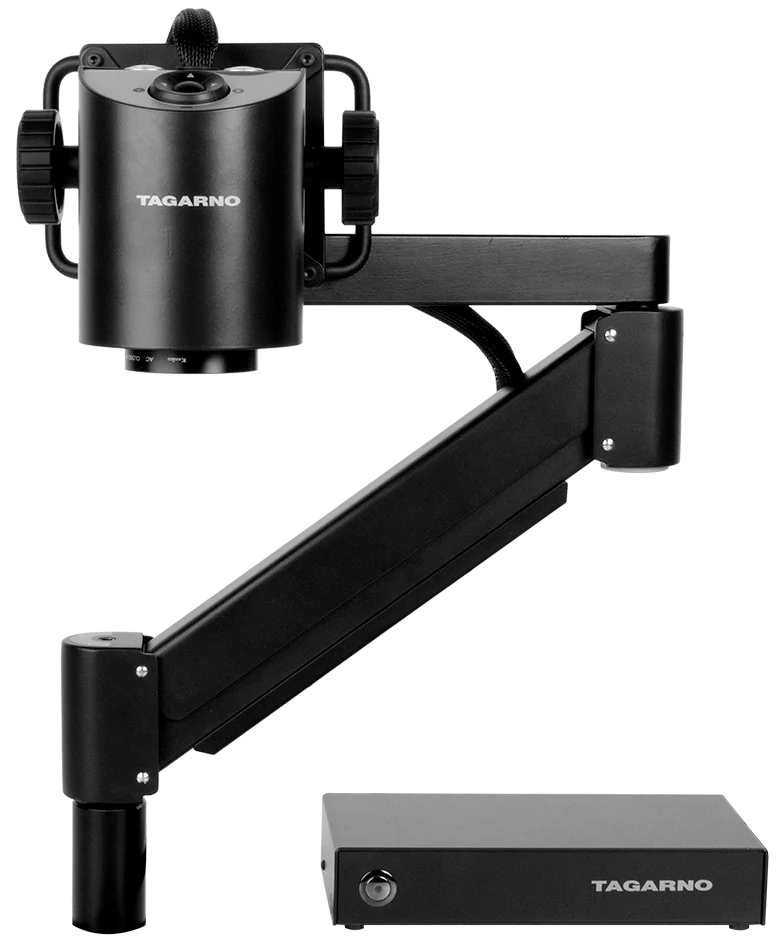
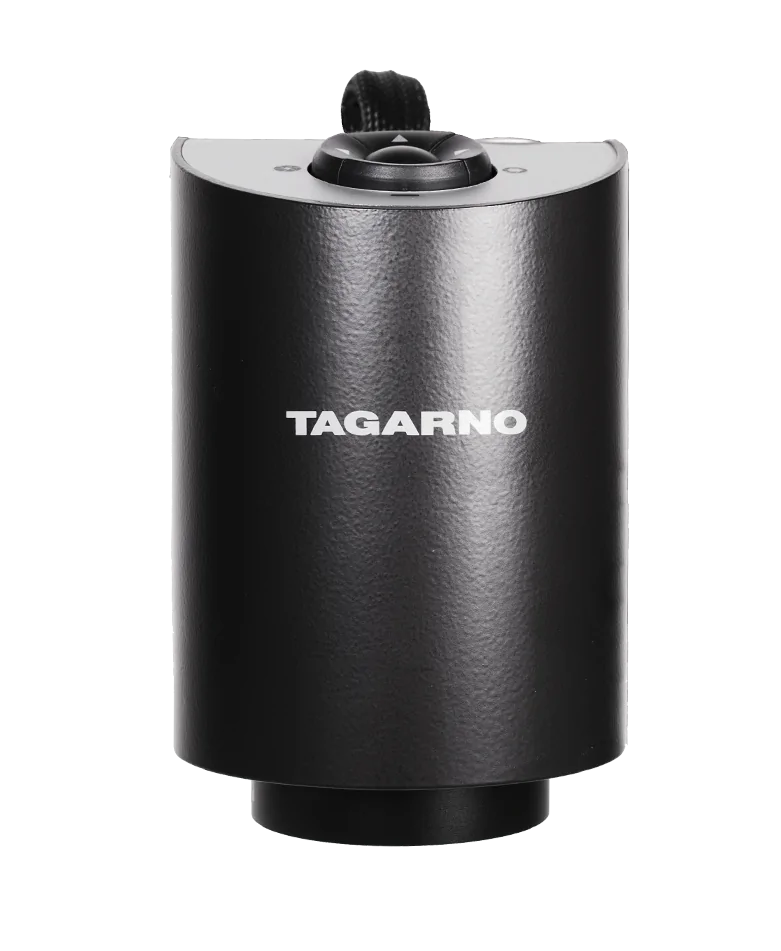
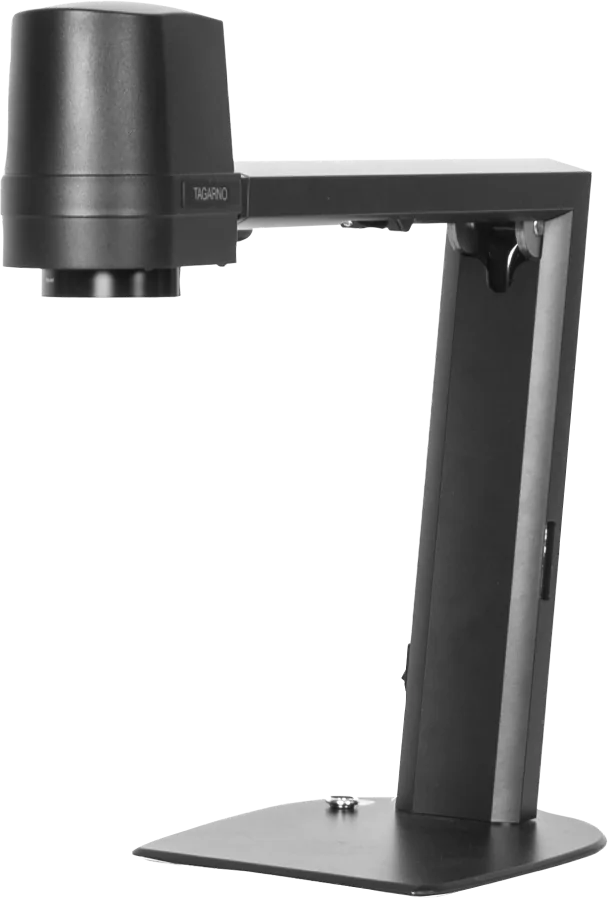
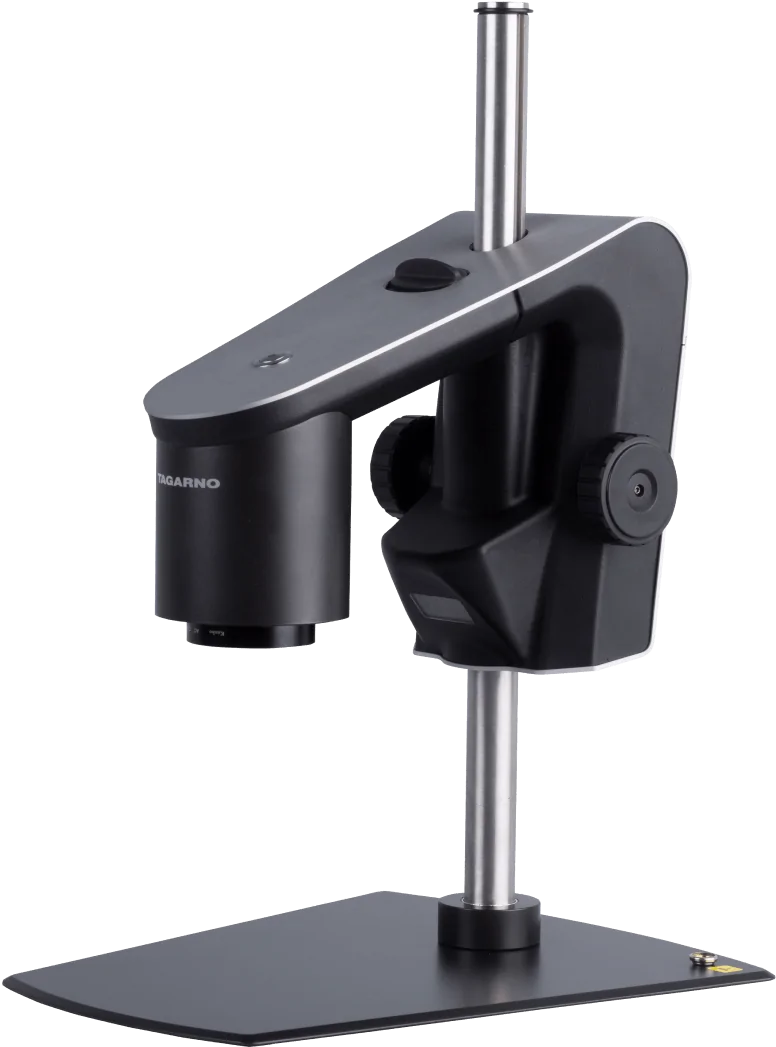
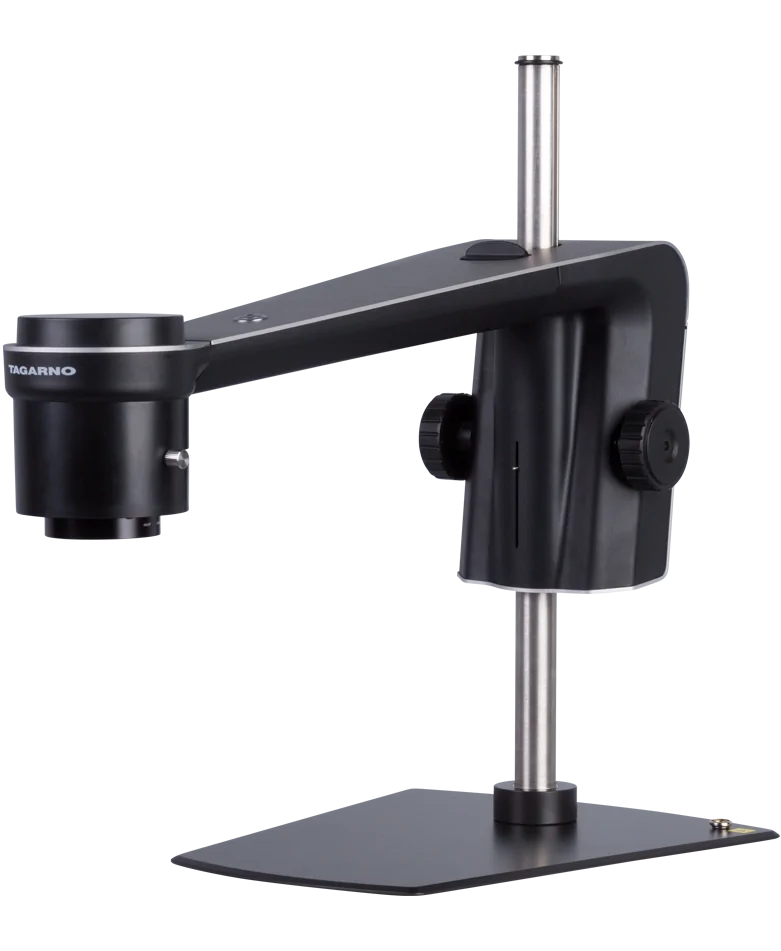
All TAGARNO digital microscopes meet these criteria. However, the bestselling microscope for metal inspection is the PRESTIGE due to its high stability at high power magnifications.

CONTACT Get a quote
Get a quote

Fill out the form below to get in contact with the TAGARNO sales team. If you have a support question, please visit our Support page.

Talk to the team

You are also welcome to contact a person from the TAGARNO sales team directly

TAGARNO Head of Sales Western Europe Tina Snehøj Nielsen
Tina Snehøj Ravn Head of Sales Europe, Asia & Africa
TAGARNO USA Country Manager, Jake Kurth
Jake Kurth Vice President of Technical Sales Americas
You are now entering our German TAGARNO site Do you wish to continue?
No, stay here Yes, proceed