


How can we help you?
Below you can find the TAGARNO FAQ, providing answers to a series of frequently asked questions about TAGARNO digital camera microscopes.
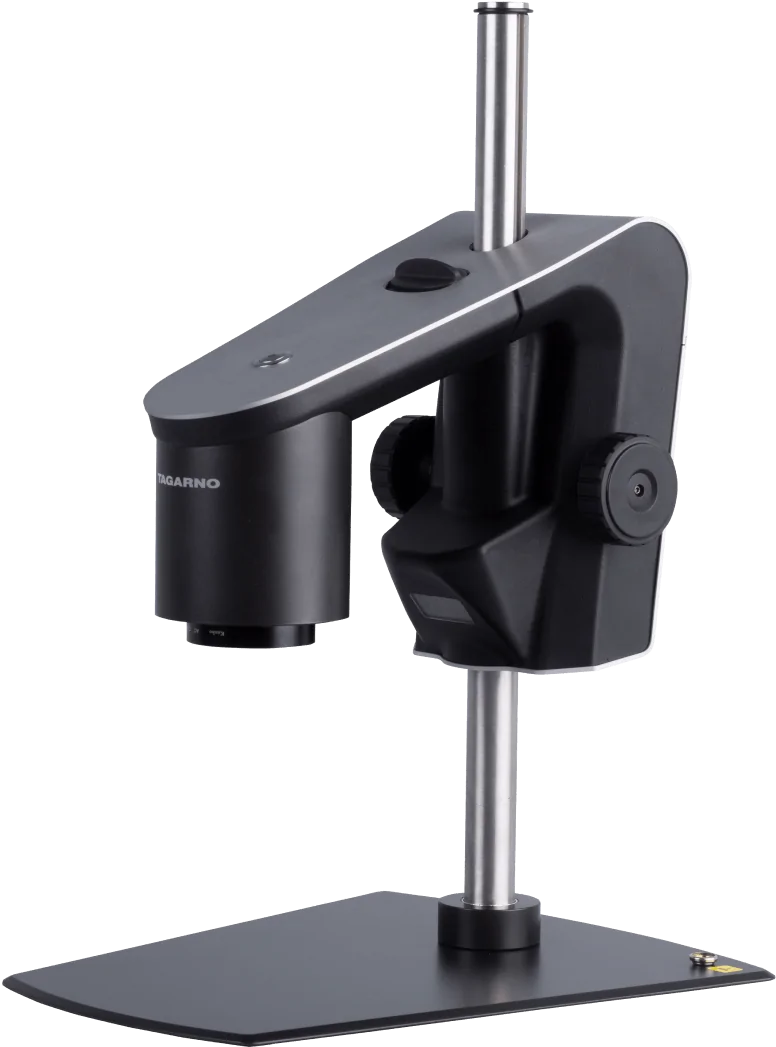
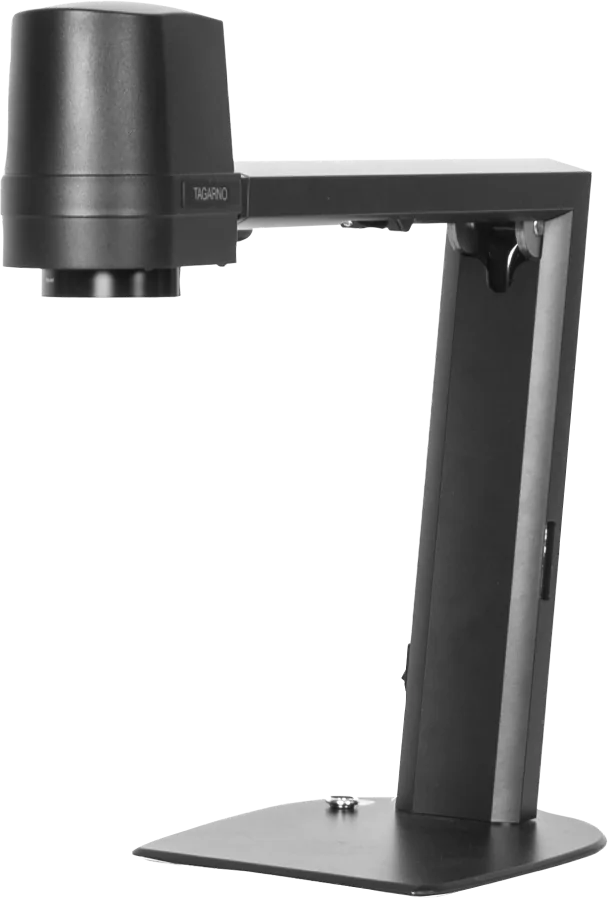
 TAGARNO ZIP
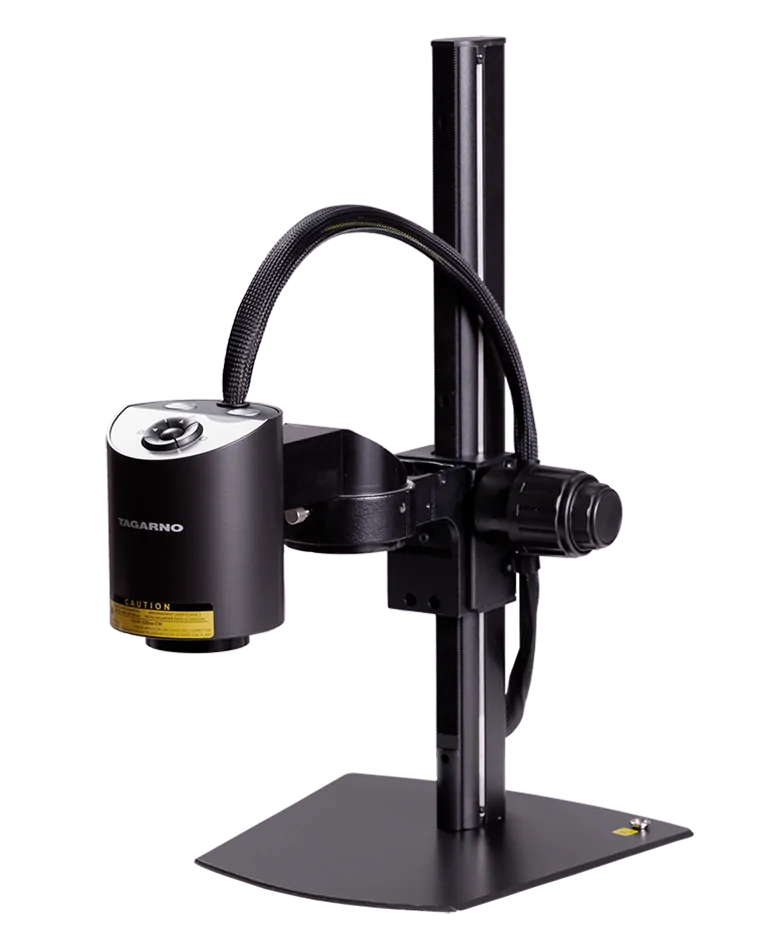
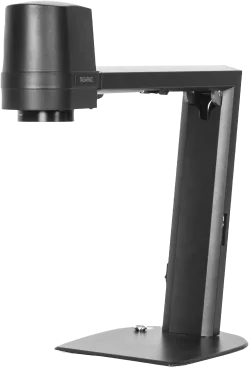
 TAGARNO ZAP
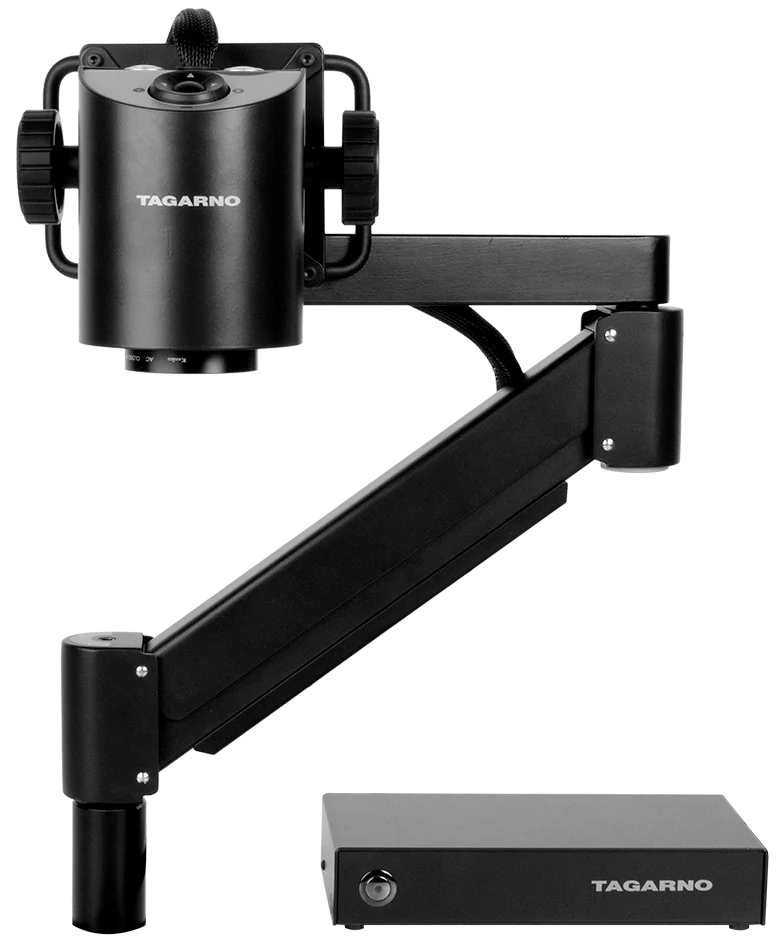
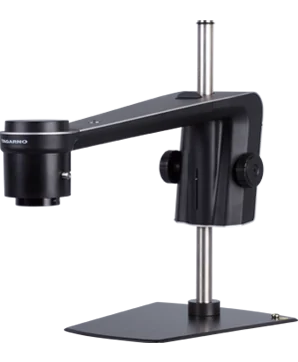 TAGARNO TREND
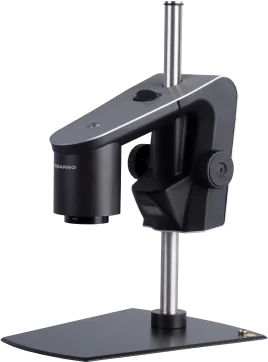 TAGARNO PRESTIGE
 General
 Accessories
 Measurement app
 Speck counter app
 Color analyzer app
 DXF overlay app
 Focus stacking app
 Image comparison app
 Particle analyzer app
 PNG reference app
 Ruler app
 Tricinoscope app
 Watermark
 Verification lines
Check if cables are inserted correctly into the monitor and that the monitor is set to the right video source
Do not use any adaptors. If you need to change the plug type, only use digital cabels, e.g. HDMI to DVI or HDMI to DISPLAY PORT
Check if there is a light in the green on/off button. If not check if the power supply is connected properly
Each lens have a different focus distance / lens to object distance. E.g. the lens to object distance for a Lens +4 is 250mm.
See focus distance for other lenses here
Even though many systems claim to be able to run in FULL HD, it is exclusively equiptment, such as TAGARNO ZIP, which is designed to display in 1080p that generates true FULL HD.
FULL HD (Full High Definition) is a high picture quality displayed on a MONITOR – FULL HD is 1080p.
The P in 1080p refers to the number of vertical lines displayed on the screen. You get an equally sharper image, if you have a higher number of lines. P stands for Progressive scan – that the screen uses to display images. Progressive scans quickly displays images due to the complete refreshment of the screen with every fram, which creates fast movements to be displayed in razor sharp details.
To use the full potential of TAGARNO ZIP, we recommend using the build-in Windows Camera App (third-party software) for saving and sharing imaging and live video recording when using Windows Operating Systems.
This means that the monitor does not support the selected video format. Follow this procedure to change back to factory setting 1080P60.
1. Turn the microscope off
2. Press and hold the center button down while turning the power on
3. Keep holding the center button down for 25 seconds
4. Release the center button and turn the power off
5. Turn the power back on and the microscope is set to factory setting 1080P60
Please do not connect the mini HDMI cable to a PC. Please also remember to not use force when inserting the cable plugs
First, connect HDMI cable and USB 3.0 cable.
Then connect the control box, power supply and ESD – Electro Static Discharge.
Please see the user manual section 6 – connecting for further explanation.
Watch from 00:10 to see the control box in action:
Check if cables are inserted correctly into the monitor and that the monitor is set to the right video source
Do not use any adaptors. If you need to change the plug type, only use digital cabels, e.g. HDMI to DVI or HDMI to DISPLAY PORT
Check if there is a light in the green on/off button. If not check if the power supply is connected properly
Each lens have a different focus distance / lens to object distance. E.g. the lens to object distance for a Lens +4 is 250mm.
See focus distance for other lenses here
Even though many systems claim to be able to run in FULL HD, it is exclusively equiptment, such as TAGARNO ZAP, which is designed to display in 1080p that generates true FULL HD.
FULL HD (Full High Definition) is a high picture quality displayed on a MONITOR – FULL HD is 1080p.
The P in 1080p refers to the number of vertical lines displayed on the screen. You get an equally sharper image, if you have a higher number of lines. P stands for Progressive scan – that the screen uses to display images. Progressive scans quickly displays images due to the complete refreshment of the screen with every fram, which creates fast movements to be displayed in razor sharp details.
The laser pointer, is thought as a target finder, this means that you dont need the center precision to localize your desired object.
To use the full potential of TAGARNO ZAP, we recommend using the Windows Camera App (third-party software) for saving and sharing imaging and live video recording when using Windows Operating Systems.
The monitor does not support the selected video format. Follow this procedure to change back to factory setting 1080P60.
1. Turn the microscope off
2. Press and hold the center button down while turning the power on
3. Keep holding the center button down for 25 seconds
4. Release the center button and turn the power off
5. Turn the power back on and the microscope is set to factory setting 1080P60
Please do not connect the mini HDMI cable to a PC. Please also remember to not use force when inserting the cable plugs
First, connect HDMI cable and USB 3.0 cable.
Then connect the control box, power supply and ESD – Electro Static Discharge.
Please see the user manual section 6 – connecting for further explanation.
Watch from 00:03 to see the control box and camera head controls in action:
The laser pointer, is thought as a target finder, this means that you dont need the center precision to localize your desired object.
Store images directly to your microscope and share the content of the microscopes internal storage directly from a computer via the activated LAN connection.
It is possible to connect an external hard drive to the USB 2.0. The TAGARNO microscopes does not have sufficient power to source the external hard drive. A secondary power source must be provided.
A smartphone USB charger can be used as external USB power source, as long as it can provide sufficient current. Consult the technical data for the external hard drive to see how much current (Amps) it uses during operation.
NB: The external hard drive must be FAT32 formatted.

The TAGARNO TREND system need to be connected to a local network. Make sure that File share mode is activated in the Setup menu.
Access files with Windows operation system:
• Open the File Explorer and type: \\tagarno-snxxxxx
Access files with macOS operation system:
• Open the Connect to server window and type: smb://tagarno-snxxxxx/
• Press connect
In both cases a window will appear and you can type:
• User name: \public (Windows) or public (MAC)
• Password: pub1234
Double click the images folder and you will be able to save, view, copy, move and rename images.
The USB stick need to be FAT32 formatted.
Store images directly to your microscope and share the content of the microscopes internal storage directly from a computer via the activated LAN connection.
It is possible to connect an external hard drive to the USB 2.0
The TAGARNO FHD microscopes does not have sufficient power to source the external hard drive. A secondary power source must be provided.
A smartphone USB charger can be used as external USB power source, as long as it can provide sufficient current. Consult the technical data for the external hard drive to see how much current (Amps) it uses during operation.
NB: The external hard drive must be FAT32 formatted.
The TAGARNO FHD microscope system need to be connected to a local network.
Make sure that FILE SHARE MODE is activated in the SETUP MENU
Access files with Windows operation system:
• Open the File Explorer and type: \\tagarno-snxxxxx
Access files with macOS operation system:
• Open the Connect to server window and type: smb://tagarno-snxxxxx/
• Press connect
In both cases a window will appear and you can type:
• User name: \public (Windows) or public (MAC)
• Password: pub1234
Double click the images folder and you will be able to save, view, copy, move and rename images.
The USB stick need to be FAT32 formatted.
Digital zoom: Digital zoom enlarges the image area at the center of the frame by enlarging the pixels. This, of course, affects the resolution of the image
Optical zoom: Optical zoom uses optics to bring the object closer. This produces images of higher quality and does not affect the resolution of the image
If you use a combination of optical and digital zoom e.g. 10x optical zoom and 2x digital zoom. To calculate the area of optical magnification, you simply take the maximum magnification and divide it by two. Examples:
LENS +10: max mag = 100x, so 100/2 = 50x optical magnification (the rest up to 100 is digital)
LENS +5: max mag = 50x, so 50/2 = 25x optical magnification (the rest up to 50x is digital)
LENS +4: max mag = 40x, so 40/2 = 20x optical magniciation (the rest up to 40x is digital)
To see the difference between optical and digital zoom, try this out:
Compare the image quality when magnifying 50x with a LENS +10 (click to open image) versus magnifying 50x with a LENS +5 (click to open image). You will see that you get a better image quality with the LENS +10 because it has optical magnification all the way to 50x.
The zoom value is the given camera position, this value will always be the same no matter LENS and MONITOR connected
The magnification value is a number calculated based on your zoom position, lens type and your monitor size.
Eg. Monitor width / (overview with max zoom / Lens no.) => 478mm / (45,3mm / +4) = 42,2x (magnification on 21,5” monitor)
FOV or Field Of View, is the area you can see underneath the camera. FOV depends on zoom value and type of LensNS
FULL HD (Full High Definition) is a high picture quality displayed on a MONITOR – FULL HD is 1080p.
The P in 1080p refers to the number of vertical lines displayed on the screen. You get an equally sharper image, if you have a higher number of lines. P stands for Progressive scan – that the screen uses to display images. Progressive scans quickly displays images due to the complete refreshment of the screen with every fram, which creates fast movements to be displayed in razor sharp details.
Even though many systems claim to be able to run in FULL HD, it is exclusively equiptment, such as TAGARNOs FHD magnification systems TAGARNO FHD ZAP and TAGARNO FHD ZIP, which is designed to display in 1080p that generates true FULL HD.
When you need to see small details very clearly, a system with a high magnification level and live imaging at 60fps provides you with superb image quality – at high magnification levels.
TAGARNO PRESTIGE provides you with magnification levels up to 510x.
A magnification solution with backlight enables you to clearly see objects through high intensity illumination. A backlight features an integrated source of illumination, which provides you with a magnification solution containing both direct light and backlight. Both light sources can be turned on with a single click. In addition you can adjust the intensity of the backlight gradually, to suit your specific needs.
You can get a separate backlight BACKLIGHT KIT to create a perfect back light.
To perform accurate measurements, you need to make a new calibration or recall a previous calibration.
Different lenses require different procedures, so please follow the appropriate procedure for the mounted lens.
- When buying the measurement application, you receive calibration sheets from D to I for Dot grid calibration and a ruler for linear calibration.
- Calibration sheets A, B and C are available at: tagarno.com/download-calibration-sheets-abc
The calibration sheets provided can be used with lenses up to +10.
Use the custom Dot grid or linear calibration methods for lenses +25 and higher.
See manual for the Measurement app for further description
To measure length, diameter, angle, area and more as accurate as possible from the Measurement app, it is crucial that a calibration is either performed or recalled before performing the actual measurement.
To use the Measurement application, the mouse and keyboard must be connected as described under the section called Connection in the product manual.
To perform accurate measurements, you need to make a new calibration or recall a previous calibration.
Different lenses require different procedures, so please follow the appropriate procedure for the mounted lens as described i the Measurement application manual.
The application will store and recall a calibration, so that you do not have to recalibrate every time the software has been closed. To choose a saved calibration, select it in the Recall dropdown menu in the top menu bar.
When performing a calibration, four current values are locked and saved in the application:
• Zoom level
• Focus height
• Close-up lens
• Scaling factor
You can choose between performing a dot grid or a linear calibration.
Dot grid calibration: Advanced calibration is done automatically by placing a predefined dot grid calibration sheet under the camera and taking a picture.
While running the calibration, the software will automatically compensate for lens curve distortion and non-linearity and carry out calculations with a precision of sub-pixels.
Linear calibration: This is a calibration method where you use a reference line and state the line length. The measurement accuracy depends the user’s diligence when drawing the reference line. Please note that linear calibration does not compensate for lens curve distortion.
If the calibration sheet is placed incorrectly, the calibration will fail.
If the Result says FAIL, switch to Live view to zoom in and adjust the position of the markers to adjust the position of the calibration sheet and recalibrate by pressing Run calibration again.
When you readjust a calibration, the camera focus locks. This means that you might have to readjust the physical distance between the camera and the object you are looking at (focus height) to display the image sharply.
When recalling a calibration, it is important that you use the same close up lens as during the initial calibration. Only calibrations with the chosen lens will be available in the drop down menu.
Function key shortcuts (F1-F10) have been assigned to the drawing and annotation functions. The tool tip shows the assigned function key.
See assigned shortcuts at each function in the Measurement app user manual.
When you mouseover a menu point, a text box will show tool tips.
Go to the User manual page to find the Measurement app manual.
Go to the User manual page to find the Speck counter app user manual.
Equipment needed:
- TAGARNO TREND microscope
- Ring light white
- Basic or Advanced control box (external lighting)
- Optical diffusor filter
- Fresnel lens
- Light eliminator
- White balance calibration card
- TAGARNO Color calibration card
Set the light settings on the ring light to intensity 100% using the the preferred control box.
Once the sample has been leveled out so that the content of the sample is alligned parellel to the lens surface, place it on a flat surface.
If too many irregularities are being counted/identified, you can adjust the slider to the left, which will then reduce the number of irregularities which is being identified in the image.
When running an analysis, the lighter type of speck will be marked with a red circle and the darker type will be marked with a blue circle.
Set the Color tone filter slider to refine the result you get, after having set the lightness filter.
To ensure correct calculation of L*a*b* color values of a sample, a Color calibration must be performed before selecting the Measure color feature.
NB! Make sure that the target on the White balance calibration card is not in the highlighted square during the first step of the Color calibration.
Select the Measure color feature to include L*a*b* color values in the analysis results.
NB! Changing magnification levels after selecting the Measure color feature will automatically uncheck the feature and the box will turn yellow to make you aware of this. Perform a new Color calibration if you want to measure color values at the current magnification level.
The Color Analyzer enables you to objectively analyze/validate the color of a sample directly on a TAGARNO digital microscope.
To get the best results, we recommend using this application with the TAGARNO TREND.
This allows you to attach the right accessories and rightfully adjust the settings.
Equipment needed:
- Ring light white
- Basic or Advanced control box (external lighting)
- White balance calibration card
- White balance calibration card fixture
- Sample drawer
- Sample drawer positioner
- Light eliminator
This enables the app to run objective and reproducable analyses.
The microscope light settings are automatically set to auto exposure.
Using the Light eliminator will eliminate any external light and prevent it from interfering with the analysis result.
Please view the Image analysis Color analyzer app user manual.
You should mainly use a keyboard and mouse to control the app.
However, you are able to use either the keyboard or control box to choose the preferred magnification level.
It is recommendéd to leave the microscope turned on for 30 minutes before performing a white balance calibration.
A white balance calibration is made each time the camera is turned on to adjust to the given light conditions.
A white balance calibration must also be made every time the light conditions change.
If the Sample drawer with calibration card and White balance calibration card fixture is not inserted into the camera field of view when the unit is turned on, the white balance will be incorrect and it will be necessary to perform the white balance adjustment proces again.
Once the White balance calibration has been performed, place the White balance calibration card into its UV protection sleeve.
Storing it in the sleeve will prolong the life expectancy of the White balance calibration card.
You will not be able to run the analysis, if the button contains a yellow exclamation point.
Perform a white balance calibration before trying again.
You will not be able to run the analysis, if the button contains a yellow exclamation point.
Perform a white balance calibration before trying again.
All identified color values within the defined color range are displayed on a graph.
- Values within pass limits are displayed as green
- Values close to or within fail limits are displayed as yellow
- Values outside of the fail limit range are displayed as red
Further questions?
If you are having trouble finding answers to your questions, you are always welcome to contact your local TAGARNO distributor or TAGARNO Support at [email protected]