Seed analyst using a digital microscope for seed viability testing

INSIGHTS

The best digital microscope for seed viability testing

Here's how and why you need to use a digital microscope for seed viability testing.

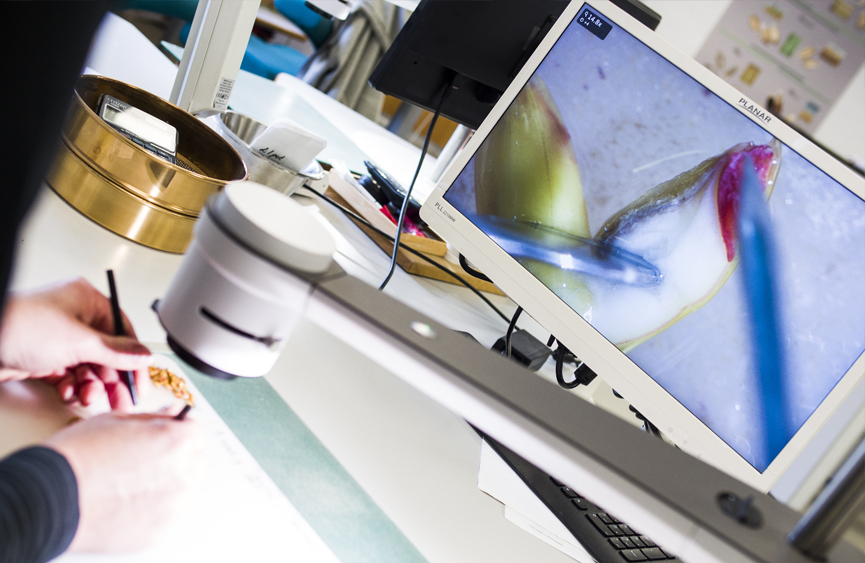
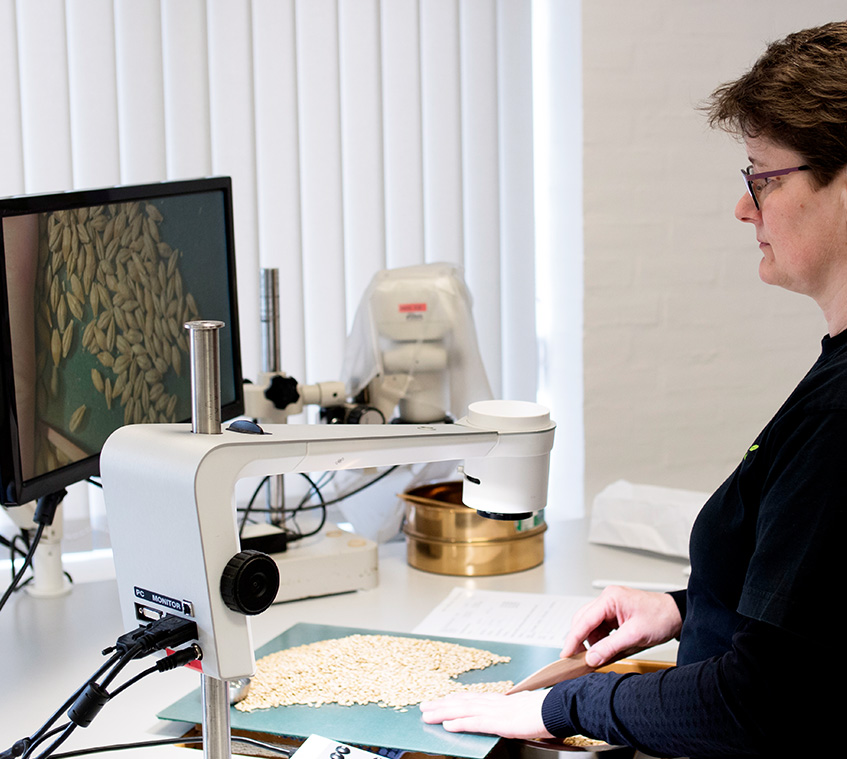
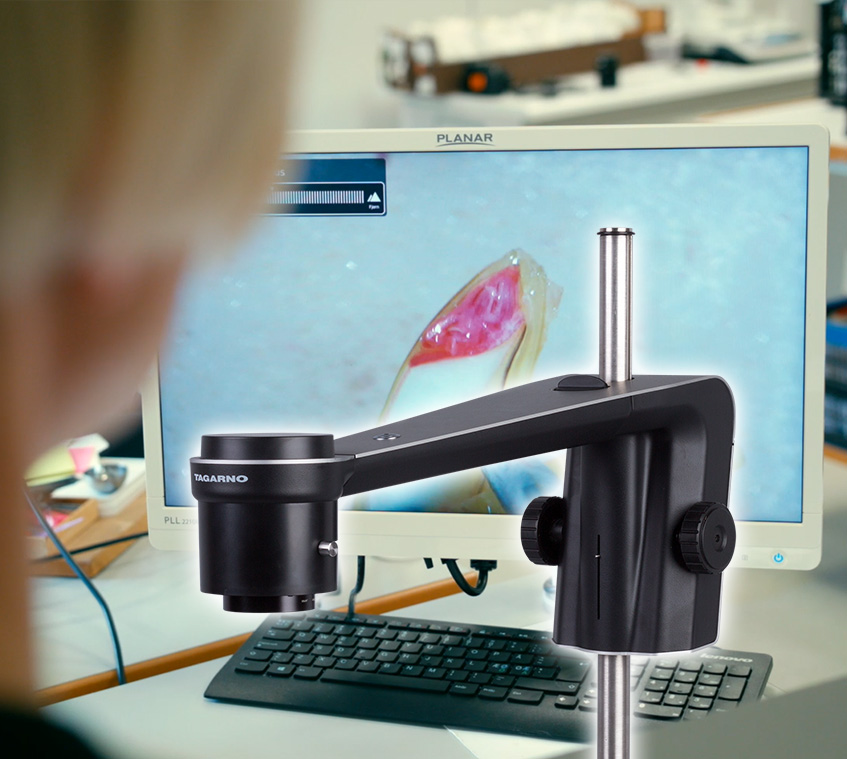
Seed viability testing, especially tetrazolium testing, is one of many tests by seed analysts to estimate the germinability of seeds. To accurately prepare the seeds for and complete the seed viability testing, seed analysts may use a microscope.

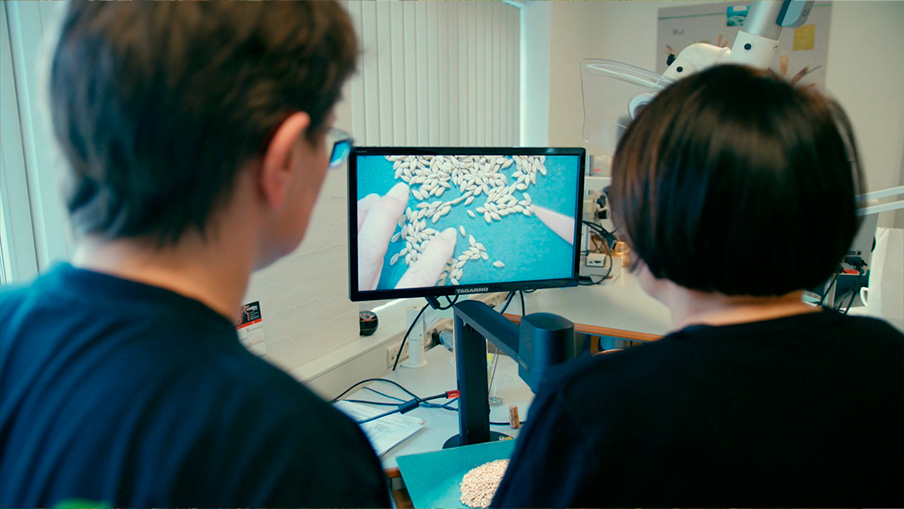
However, many seed analysts experience job-related pain from using a microscope. Some even complain about the inability of their current microscopes when it comes to documenting the completion of necessary preparation steps as well as findings during the following inspection process.

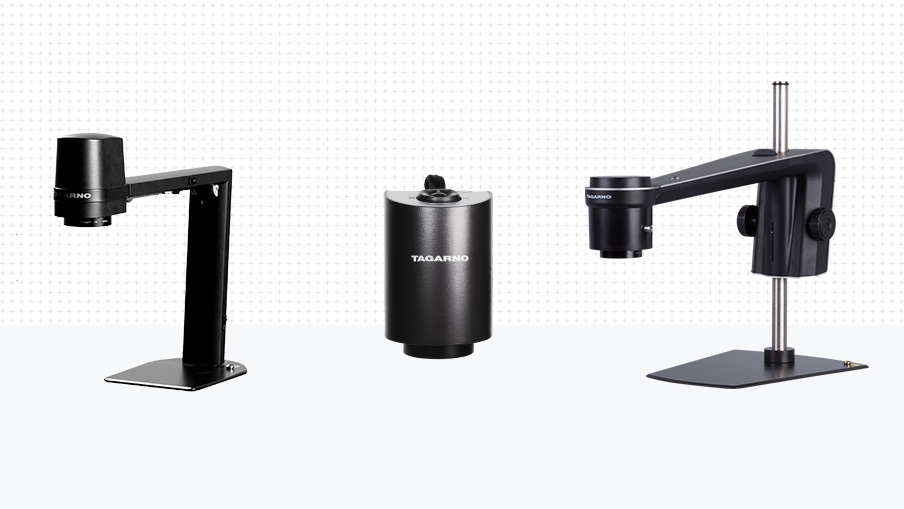
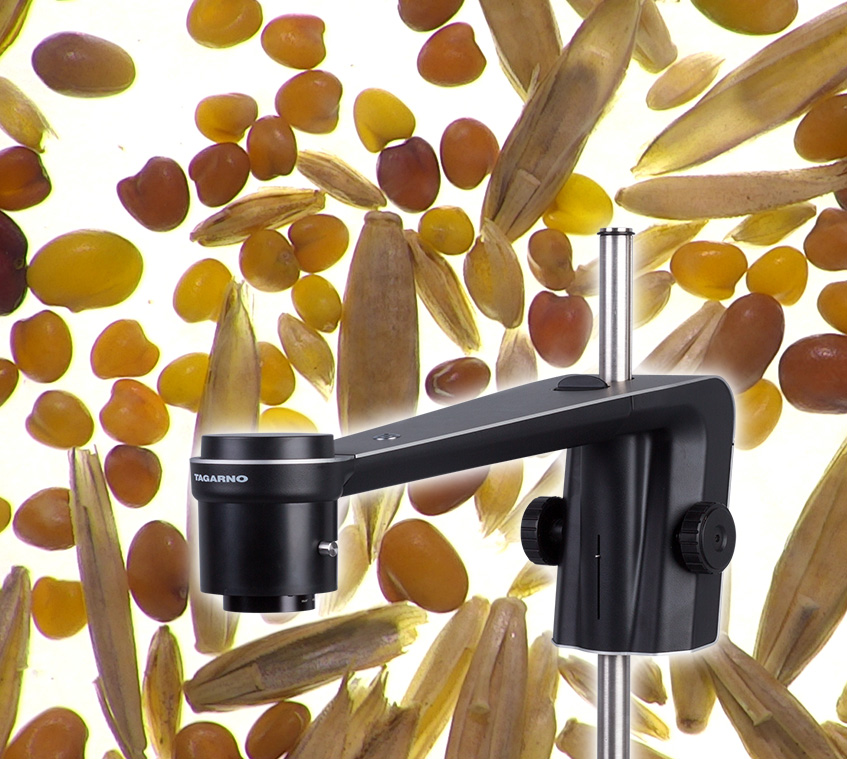
With that in mind, many go hunting for a digital alternative to their current magnification systems. Perhaps that’s why you’ve started reading this blogpost too?

What is seed viability testing?

To understand how viable seeds are, seed analysts perform a variety of tests. These are referred to as germination and seed viability testing.

According to V.N. Patil and Malavika Dadlani, one way to test seed viability is to perform a tetrazolium test. The method was pioneered by the German scientist Lakon during the mid nineteens and is today widely used as an alternative to slower germination tests.

Person using a TAGARNO TREND to inspect seed and grain

Why use a digital microscope for seed viability testing?

To properly prepare for and complete the seed viability testing, a seed analyst will often use a microscope.  While many are still using stereo microscopes, some have already made the change to a digital microscope and seen great results from doing so.

Here’s some examples:

You can use it for hours with no pain

As previously mentioned, it’s not uncommon for microscope operators to experience job-related pain from using a microscope. In fact, far from it.

By using a digital microscope instead of a stereo microscope or desk magnifier, you’ll be able to look straight ahead at a monitor. This is more comfortable, helps reduce headaches as well as neck, back and shoulder pain.

Studies show that simple ergonomic intervention methods like this can help reduce extremity fatigue and errors during microscopy work.

You can document your steps and results

By seeing the seeds on a monitor, it’s also incredibly easy to save photos of the seeds. Often, it only requires a press of a button on a control box to document that you’ve completed the necessary preparation steps or your findings during the inspection stage.

By comparison, documenting your findings on stereo microscopes or through desk magnifiers is a cumbersome if not impossible task that often leads to next to no documentation of the completed test.

Ask a colleague for a second opinion, either in-person or online

When using a monitor to see your seeds, you can also ask a colleague over for a second opinion. Instead of taking turns to look through an ocular, simply point to the area of the monitor you want to discuss.

If your colleague is not in the same room (or even location) as you, some digital microscopes also allow you to share the microscope image with remote colleagues during an online call. This is a great alternative to sending the seeds or images of the seeds back and forth if questions or issues occur during the viability test.

Two operators inspecting seed using a digital microscope

Different types of digital microscopes for seed viability testing

If you’re curious about changing to a digital microscope, it’s important to know that there’s different types of digital microscopes to choose from. They all have different technical specifications and they are not equally suited for seed viability testing.

Let’s have a look at the different options and how well suited they are for this process.

USB microscopes

A USB microscope is an often handheld microscope that needs to be connected to a computer to display the seeds. This, however, is often via USB 2.0 outputs which will compress the microscope feed, resulting in a significant loss of details.

This combined with the fact that you have to hold the microscope as you’re preparing and inspecting the seeds explains why USB microscopes are rarely used for seed viability testing.

Digital microscopes with a built-in screen

To avoid having to hold the microscope, you can also opt for a digital microscope with a built-in screen. This screen, however, is typically between 8.5’’ and 15’’. Some may find that this is enough to see everything clearly, while others may prefer using a separate monitor.

Digital microscopes with a separate monitor

Lastly, there’s the option of a digital microscope with a separate monitor. Here, you can choose any size monitor you want and place it wherever you want for maximum flexibility.

Going back to the benefits of using a digital microscope, this is the option best suited for seed viability testing.

What to look out for when choosing a digital microscope for seed viability testing

It’s one thing to know that you need a digital microscope with a separate monitor. It’s another to know which technical specifications the microscope itself needs to have.

But don’t worry, here’s a list of features to look out for when determining which digital microscope to go for:

Auto focus

Make sure that the microscope has auto focus. This will ensure that the seeds are always in focus, even if you’re moving them around.

It’s an added bonus if the microscope also has manual focus (with some digital microscopes, you can change the focus manually with your feet by using a foot pedal) but choosing a microscope with only manual focus is not ideal.

Frame rate

It is also important that the microscope shows 60 frames per second.

If you’re used to using stereo microscopes, you might not know what that means, so let’s break down why that’s important.

60 frames per second refers to how much information the microscope can display on the monitor per second. If, as an example, the microscope only displays 30 frames, you’ll experience a delay between what’s happening underneath the microscope and on the monitor. This will not only lead to frustration but also motion sickness.

With 60 frames per second, however, everything happening underneath the microscope is displayed in real-time on the monitor for a seamless experience.

Documentation

If you want to document that you’ve completed the different steps in the seed viability testing, make sure to choose a digital microscope with easy documentation processes.

On digital microscopes, pictures can typically be saved by using:

  • A dedicated button on the control box
  • Generic drivers that allows you to connect the microscope to a computer via USB and use the built-in Windows OS Camera app on your computer

The latter method is also how you’ll be able to share the microscope feed in online meetings with remote colleagues.

A selection of the best digital microscopes from TAGARNO

The best digital microscope for seed viability testing

At this point, we know which technical specifications a digital microscope needs to have in order to be used for seed viability testing. With this in mind, we highly recommend the TAGARNO TREND, a microscope that meets all the technical specifications mentioned in this blogpost.

TAGARNO TREND

With 60 frames per second and auto focus as well as manual focus, TAGARNO TREND produces perfect images for the seed viability testing.

What really sets the TREND apart from other digital microscopes though is how easy it is to capture photos. All you need is to press a button on the control box and photos are either saved to a USB memory stick or the internal storage of the microscope. In both cases, photos can be reopened on the microscope itself to check that you have all necessary photos – or transferred to other computer in-house if you prefer.

By using generic USB drivers, you can also connect the microscope to your computer and use the built-in Windows OS Camera app to share the microscope feed in online meetings with remote colleagues.

Pros

  • Excellent image quality with 60 frames per second
  • Seeds will always be in focus with auto focus
  • Adjust focus if needed with your feet using a foot pedal and manual focus mode
  • It's never been easier to document your tests
  • Share findings during online calls

Cons

  • Long arm requires a sturdy table to reduce vibrations at high magnifications

Download free brochure on TAGARNO TREND

Are you considering TREND for your seed viability tests?


With this free product brochure, you'll learn everything you need to know about this microscope, including a walk-through the features that make the TREND unique.


Download free brochure
Preview of "Is TREND the right microscope for me" brochure
Download free brochure

In summary

Using a digital microscope for seed viability testing will not only solve issues caused by more traditional magnification systems. A digital microscope will also introduce new and more efficient ways of working.

There’s many digital microscopes to choose from, not just in terms of brands but also technical specifications.

For the best results, however, we recommend a digital microscope that:

  • Uses a separate monitor
  • Shows 60 frames per seconds
  • Has auto focus as well as manual focus
  • Offers easy documentation processes


TAGARNO TREND meets all of these requirements and is a great option if you want to take your seed viability testing (and documentation) to the next level.

There’s more to read

Now that you’ve made it to the end of this blogpost, here’s a few other blogposts that you might find interesting.

You are now entering our German TAGARNO site Do you wish to continue?
No, stay here Yes, proceed